If you are an Android user skip to step 2 here.
Download and install BlueStacks for your PC. BlueStacks is an Android emulator that allows you to run android apps on your PC.
Click Here to download and install:

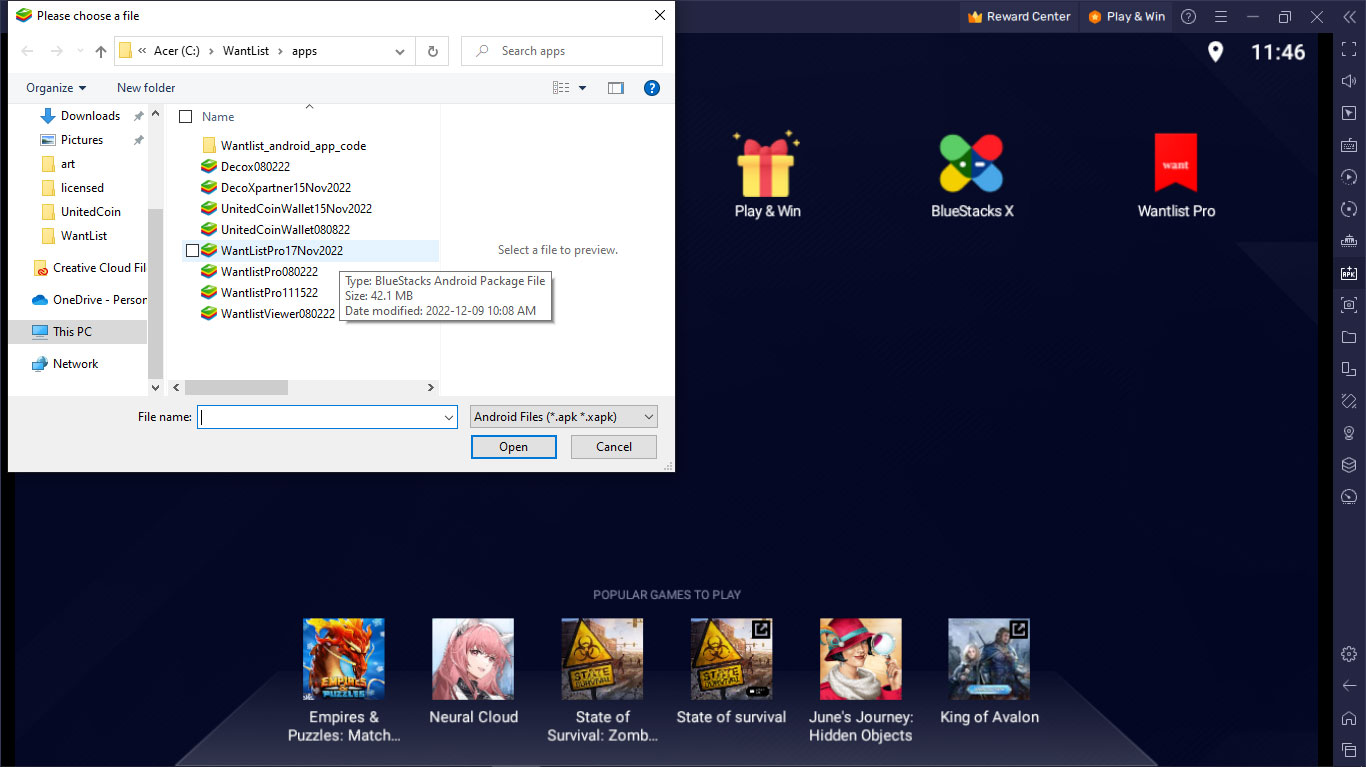
Once the BlueStacks Emulator is installed, from the home screen click install APK to add the android app that you wish to install. You may need to first download the APK from the website and save it to a folder on your PC or desktop.
Android Users simply click and follow the prompts.
Already a pro? Have a promo code?

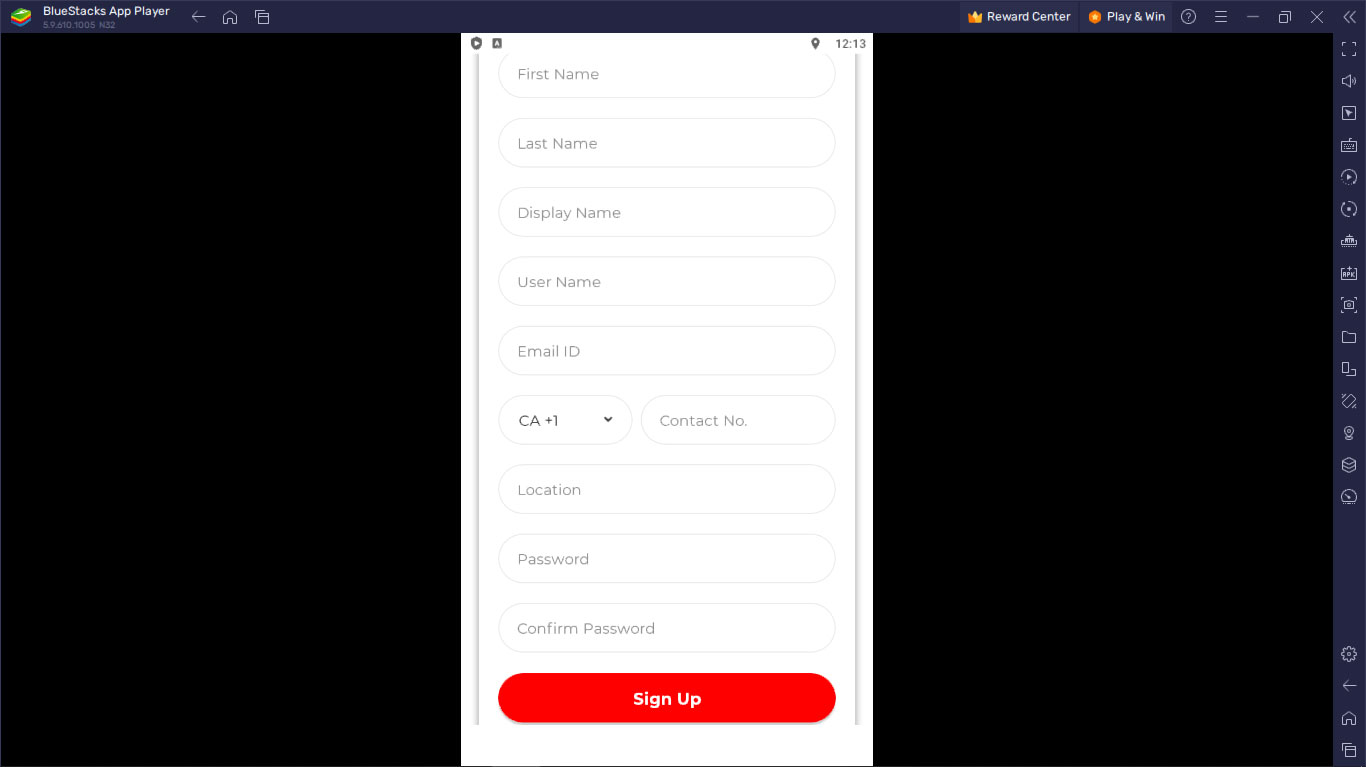
You will need to create an account to use the app. Sign up using an email address. There are 3 name fields types. Your legal name, used by admin for account verification. Your display name, this is the name people will see on your profile and there is your username. This is the name you will use to log in to your account. Keep this information and your email address private to prevent hackers from accessing your information and your account.
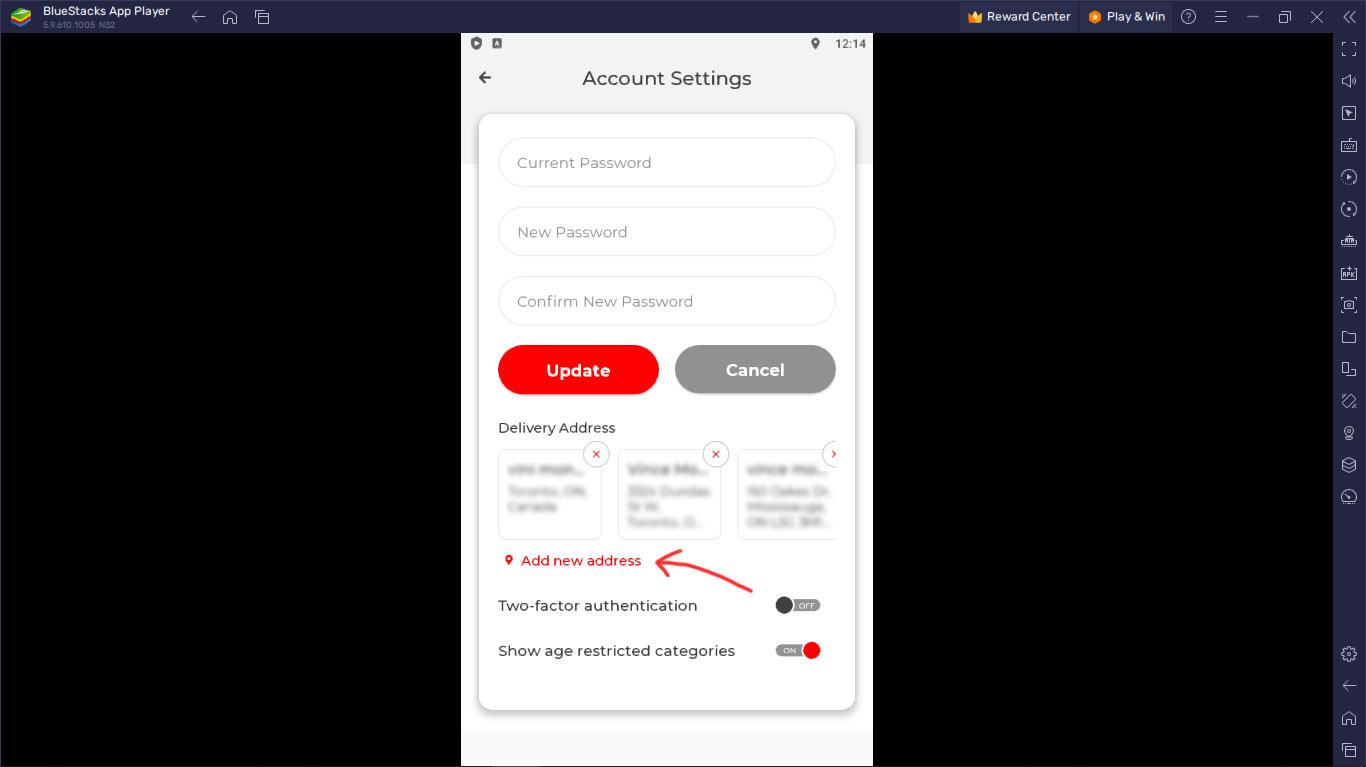
From the main menu, default is your buyer profile. You can add delivery and pickup addresses. You can add multiple addresses for various work related functions such as an office or studio space to receive clients. Here you can also update your password and setup 2FA two factor authentication.
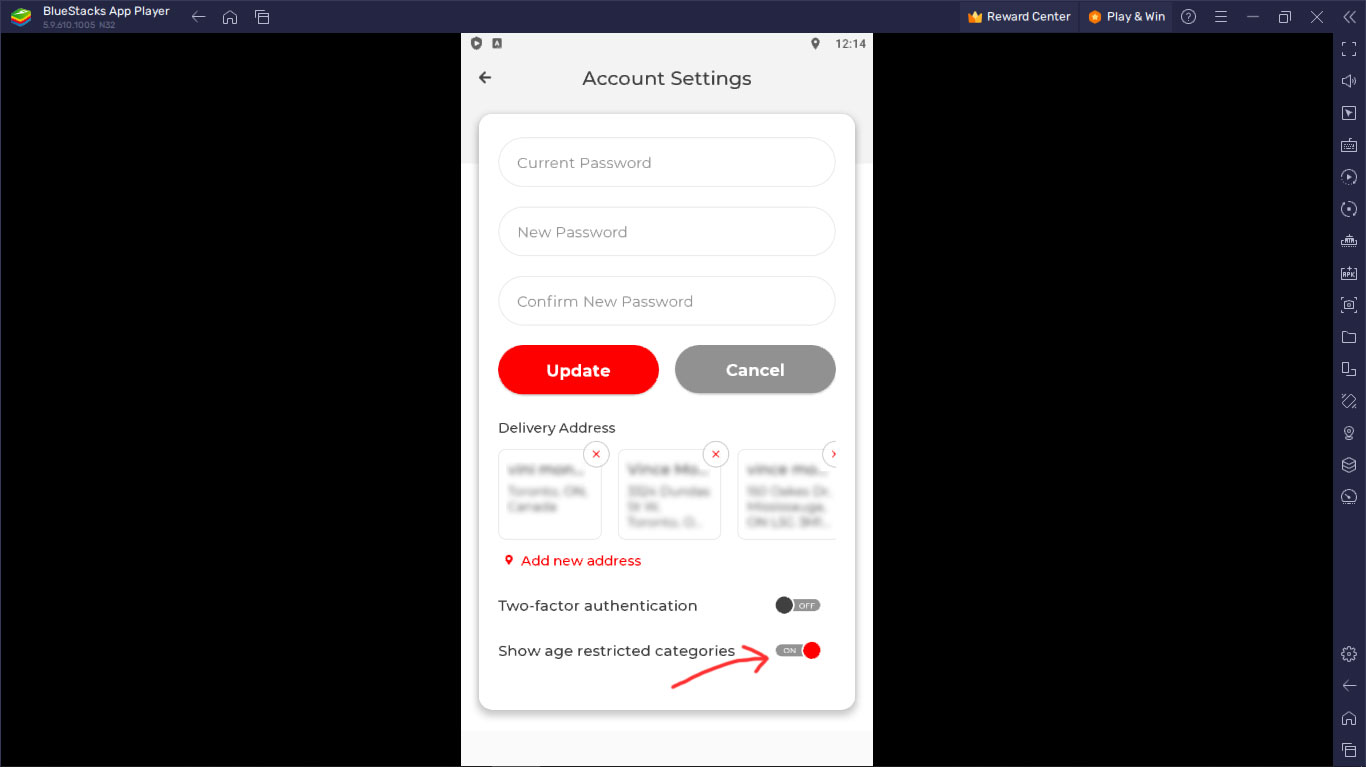
You can toggle age restricted categories. This requires verification. You will need to submit official documentation such as passport, drivers license or other government id's. The account holder name must match the identification.
Becoming verified has other benefits such as larger wallet capacity and being able to post to restricted categories. After becoming verified you can toggle off the restricted categories and still be considered verified. This will hide the categories from view during those NSFW instances.
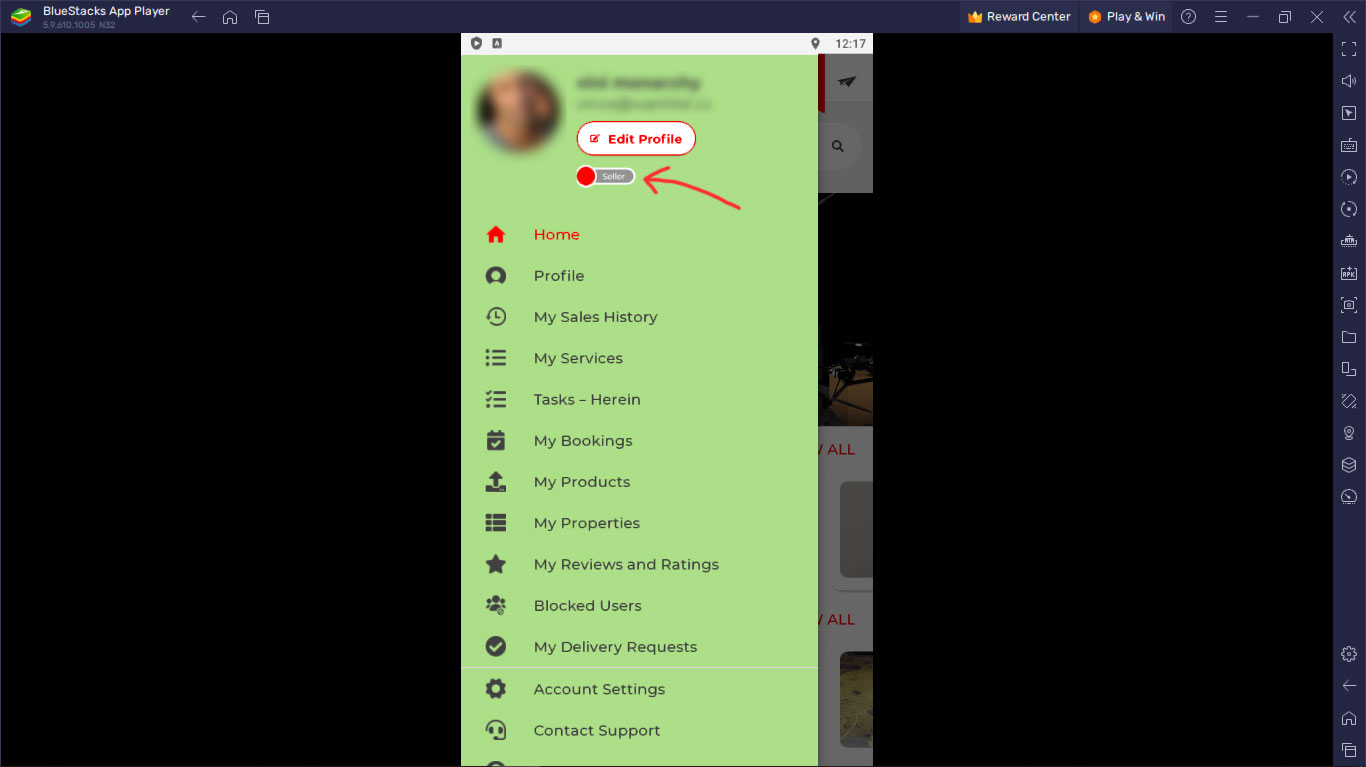
To go back and forth between your buyer and seller profiles, click the menu icon and toggle the profile switch. The profile will determine the content each menu item points to. For example, tasks (seller) will show services you have been hired to perform. Tasks (buyer) will show upcoming/past services you have purchased. The ratings and review section works the same way. You can only give/receive reviews for products and services purchased.
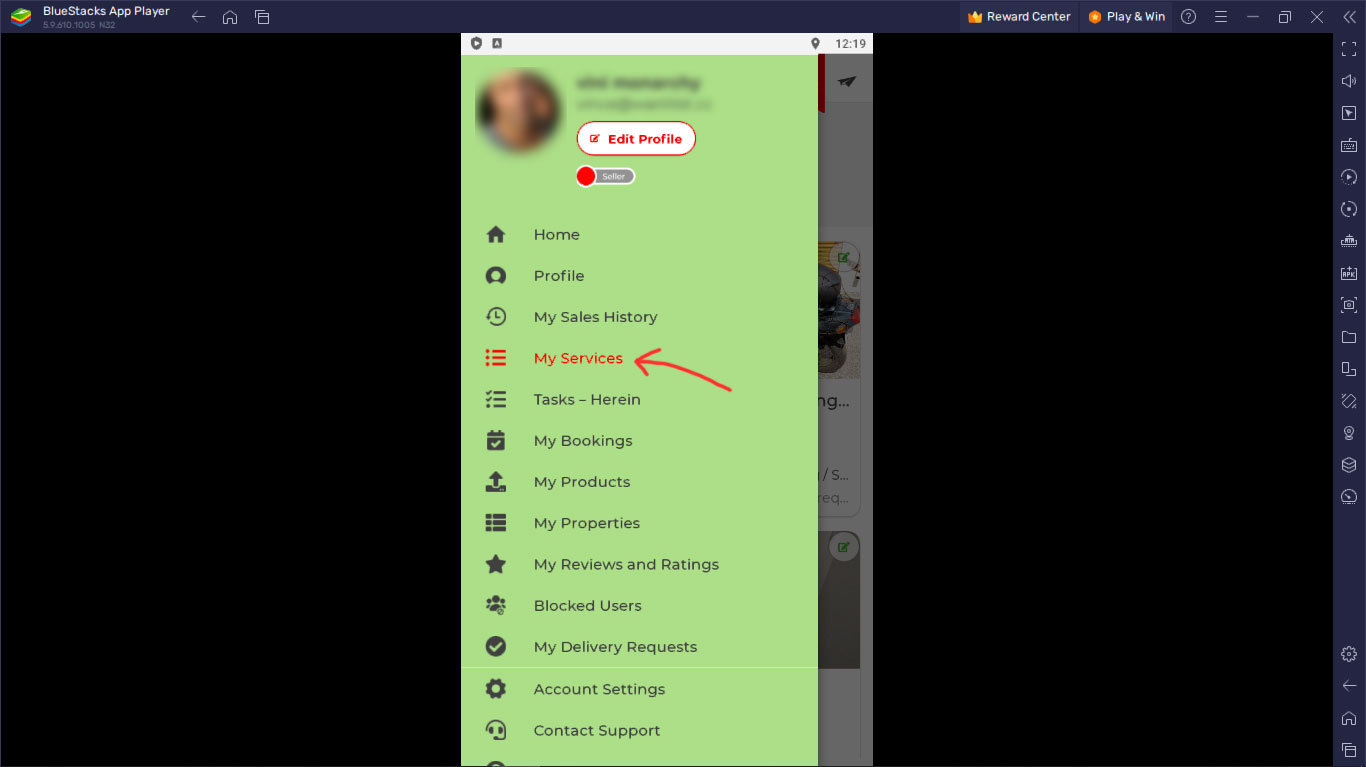
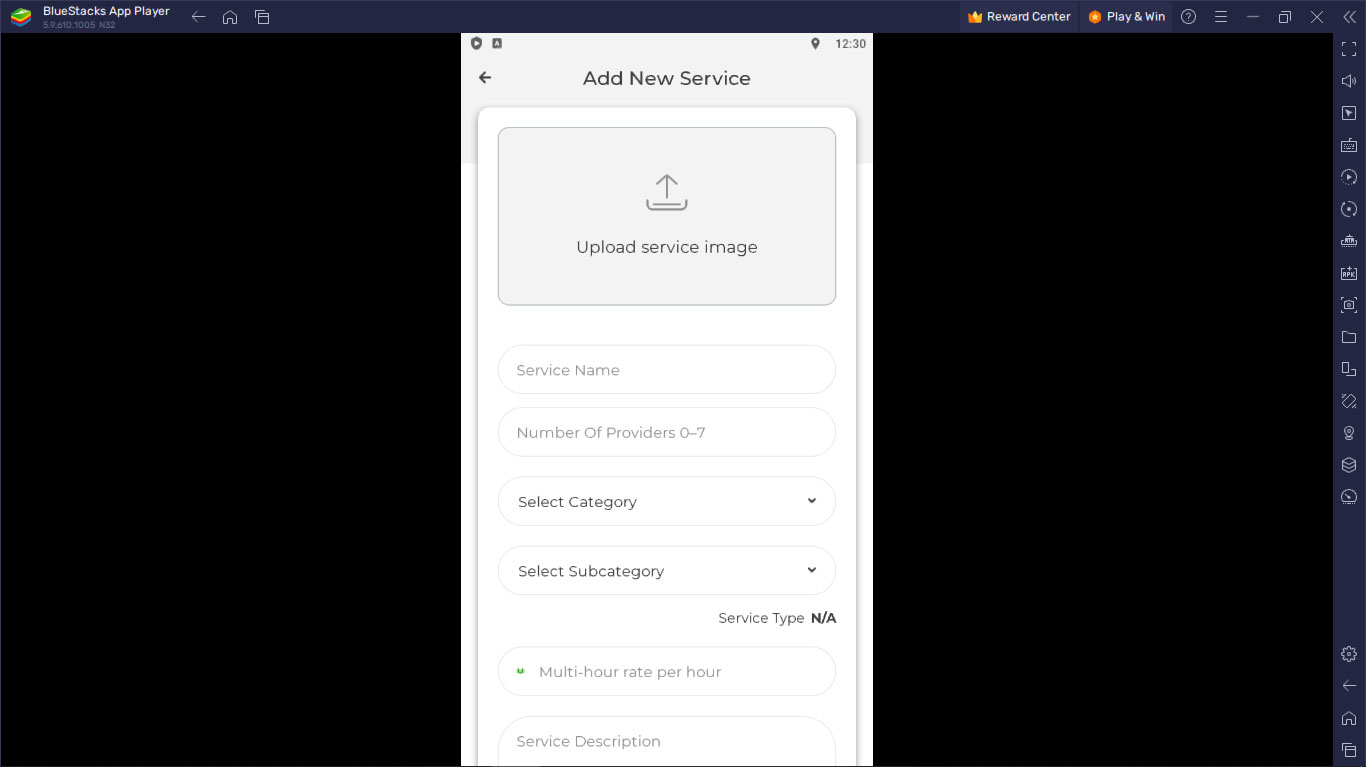
From your seller profile you can list products for sale and services offered to the local marketplace. You can also set your availability. You must approve purchases and have an opportunity to reject a client or buyer based on criteria such as rating, distance, availability and fulfillment fee. Fulfillment fee whether rideshare or delivery is dependent on distance. The further a buyer is the more it will cost to deliver the product or service. You can decide to reject if the distance doesn't justify the offering. Higher priced items are available to a larger fulfillment area. It is also a good idea to keep in mind that your price includes fulfillment, So add about 20-30% to your regular prices.

Our fulfillment partners are your peers, much like other service providers that use the ecosystem. They too are offering a service and directly compensated by the client.
Yes, in case you're wondering, you can be a self fulfilling seller. Meaning, you can earn both the seller and fulfillment portions of the transaction.
Download the Partner app here